I love that people continue to bring new little bundles into the world, especially given the fact that I myself am so over having babies! The latest addition to my family was born in September, and shamefully, I am just now finishing up his Welcome to the World gifts!
I used the corner to corner afghan technique (which I thankfully have memorized because the link to that pattern was another thing lost in my stinkin' laptop crash!) and some half skeins of Red Heart from Yarn Mountain. It measures 32"x36", I really don't know anything about proper baby blanket sizing, but it seemed to be a nice size for wrapping baby in and more importantly, still big enough for a toddler to cuddle up in. This is my favorite color combination and stripe pattern I've done so far.
A dear friend has a little one coming at the end of this month as well. I think I'm going to use some of the browns I have left to make his blanket, and maybe add in a little blue or green to mix it up.
Hoping to have a less cloudy day tomorrow so I can get some better photos to share. Also, trying to learn my camera more, and admitting that I really should make a light box and learn photoshop too. Ah well, all in good time I suppose. As much as I'd love to learn more about taking great photos, I really love spending the free time I do have actually making the stuff!
The continuing, daring, and dazzling adventures of a crafty stay at home momma
Showing posts with label Crochet. Show all posts
Monday, November 5, 2012
Sunday, November 4, 2012
It Begins!
I have started my christmas crocheting!
It seems so early, and yet I know that I always end up crocheting things at the last minute at holiday time, so here's hoping starting way early will help minimize the panic!
Today was spend my favorite way-- on the couch in comfy pants, hook in hand, watching football! What's your favorite way to spend a Sunday afternoon?
S
Friday, November 2, 2012
ERL Is My Favorite
I'm sure I've mentioned it before, but I will say once again, my ERL is the best guy ever. He buys me books ALL the time, from my Amazon wishlist. This weeks surprise book in the mail, Crochet Boutique! Woohoo! Just in time for some holiday hookin!
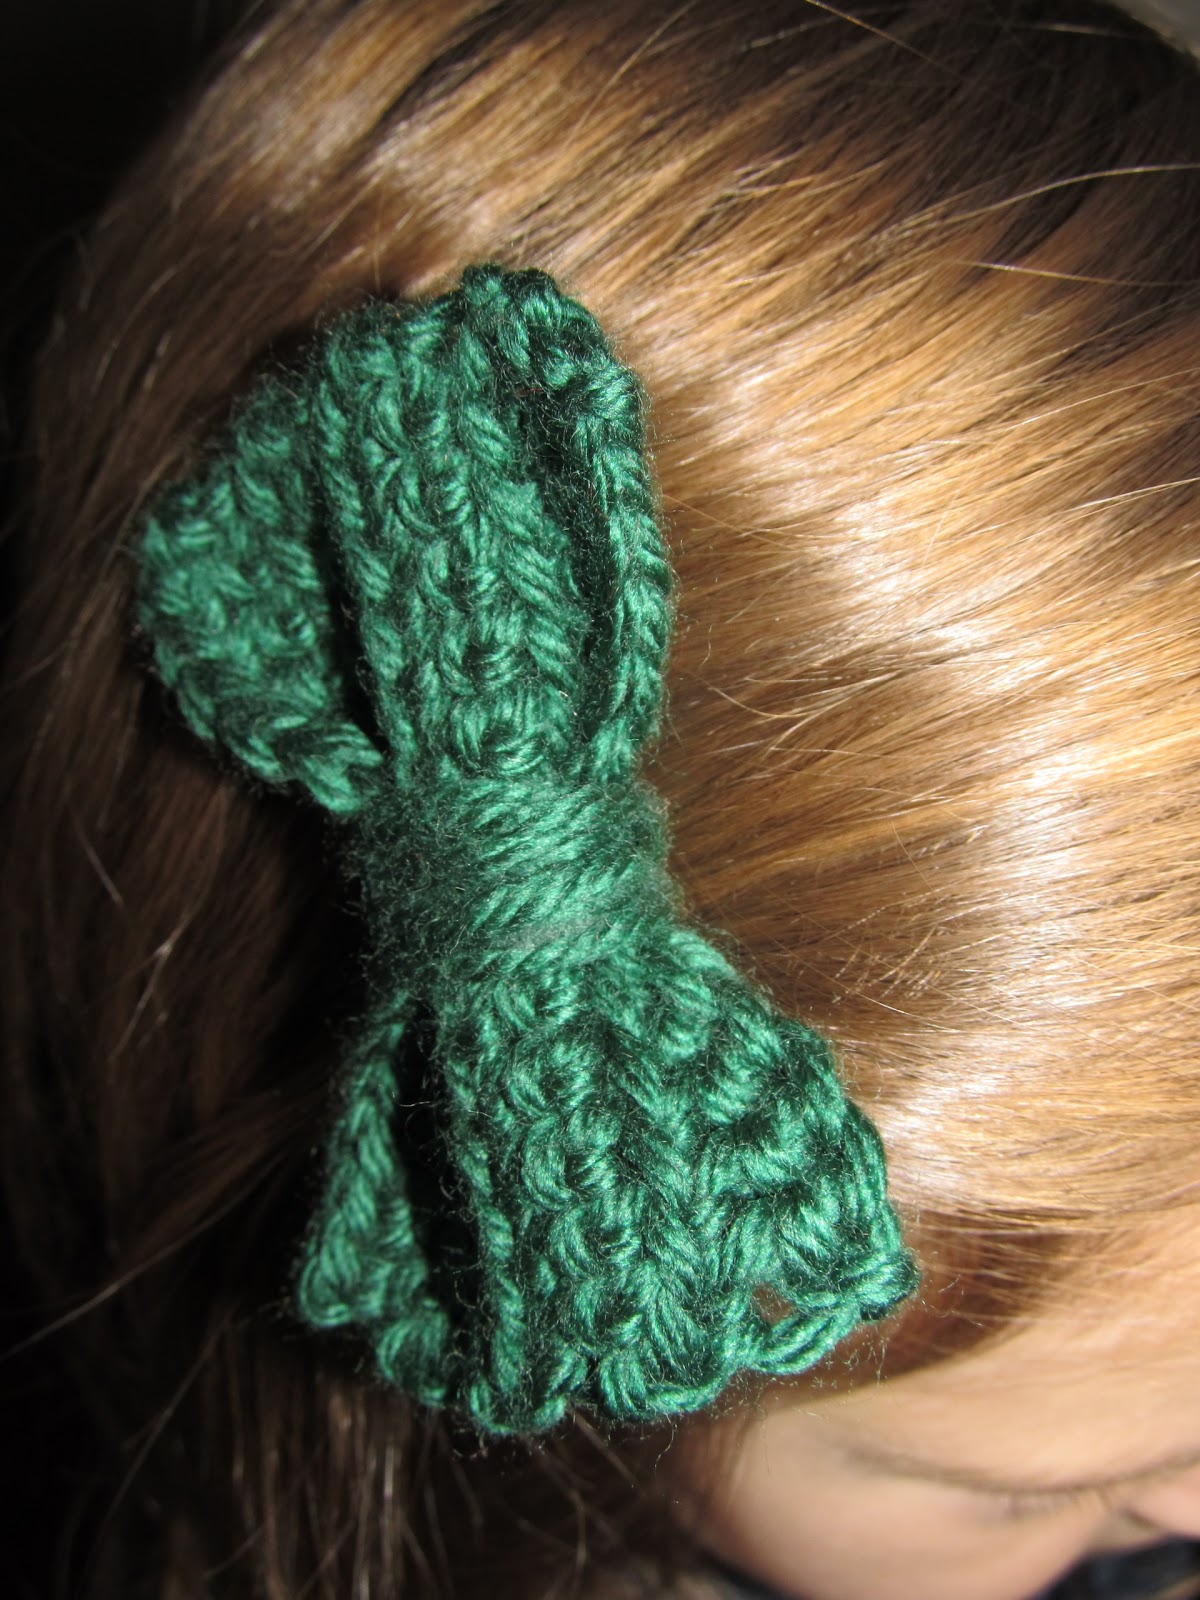
Loving this book, tons of great chunky cowls and cute hats! Its been a hectic week, so I haven't had much time to dig in, but so far I've made this from the book:
Isn't it cute?! Babygirl has requested a pink and a purple one, which should be the perfect motivation to get crackin on some of the cute things from this book!
Happy Friday!
Loving this book, tons of great chunky cowls and cute hats! Its been a hectic week, so I haven't had much time to dig in, but so far I've made this from the book:
Isn't it cute?! Babygirl has requested a pink and a purple one, which should be the perfect motivation to get crackin on some of the cute things from this book!
Happy Friday!
Friday, August 3, 2012
Crochet! Remember that?
I've been super lazy about the blog lately! Also, had a few minor catastrophic events in my life...#1-had another birthday. Every year I dislike the number attached even more! #2-my laptop died! Ok, this was the real catastrophic event. I didn't lose anything precious or irreplaceable like family photos or anything, as they are backed up elsewhere, but oh my! the craft info I lost was huge! So many bookmarks, saved freebie patterns, folders full of pics of finished projects just waiting to be posted to the old bloggy blog....it is an information gathering and organizational nightmare that I haven't had the energy to tackle just yet!
However, I have (as usual) been working on a bazillion projects at once!
I completed my first "granny square" afghan. Actually, its a lapghan. It took forever! Truly, I don't know how people have the will to complete full sized afghans made from tiny squares. I must have spent four hours just weaving in the ends on the squares, not to mention putting them all together, and there are only thirty six of them! (I used the single crochet method, the jury is still out on whether or not I'll use that method again).
The squares are called "circle in a square" and work up very quickly once you get the hang of it. I would sit watching TV and make four or so in a sitting (note to future self--weave in those ends every couple of squares!!!) Once the squares were sewn together, the blanket still seemed to small so I did a few rounds of double crochet around the edge the make it larger.
I didn't take a final measurement but it fit nicely across my lap. All in all, this project was a major pain in the butt, but in the end, I think it came out fun and bright because of the color combination, and was absolutely a learning experience!
I've actually been finishing projects lately, so more stuff to come! Happy Weekend!
However, I have (as usual) been working on a bazillion projects at once!
I completed my first "granny square" afghan. Actually, its a lapghan. It took forever! Truly, I don't know how people have the will to complete full sized afghans made from tiny squares. I must have spent four hours just weaving in the ends on the squares, not to mention putting them all together, and there are only thirty six of them! (I used the single crochet method, the jury is still out on whether or not I'll use that method again).
The squares are called "circle in a square" and work up very quickly once you get the hang of it. I would sit watching TV and make four or so in a sitting (note to future self--weave in those ends every couple of squares!!!) Once the squares were sewn together, the blanket still seemed to small so I did a few rounds of double crochet around the edge the make it larger.
I didn't take a final measurement but it fit nicely across my lap. All in all, this project was a major pain in the butt, but in the end, I think it came out fun and bright because of the color combination, and was absolutely a learning experience!
I've actually been finishing projects lately, so more stuff to come! Happy Weekend!
Tuesday, February 21, 2012
Totally Radical!
Can I just start by saying is it spring yet??? A nasty cold has descended on the House of Spidermom, taking down four out of five of us staggered over the last two weeks, ick!
Being mostly homebound does have its benefits though, lots of stitching, hooking and general organization happening around here. If you'll notice, I've decided to publicly shame myself but publishing my ridiculous list of Works In Progress. I'm really hoping this helps motivate me to finish these items, so that I can work towards de-stashing the over grown beast that is Yarn Mountain.
So part of this process is embracing things that I kind of hate, in this case it is neon colors, which remind me of another thing I hate, the 1980's. You know, when my bangs were all poofy and my favorite color was "seafoam green". Gross, like, gag me with a spoon, for sure! I can't bring myself to give any further examples of that horrible, tacky decade, but I'm sure you get the same pictures in your head when the 80's are mentioned. Sickening, no?
Anyway, I came across some horrible bright Red Heart Super Saver in my stash, pulled out two colors and said (aloud to myself, of course), why the bleep did I buy this awful color??? I felt an urgent need to get them out of my house, and so the Totally Radical Granny was born.
I took a ton of pictures but none of them could really capture the frightening brightness of the colors! Gave this one to one of Shorty's friends, because of course the kids all think the neon and the 80's were cool because they don't remember it, seeing as they weren't even born yet.
Blah, I can hardly bear to look at the photos, the colors hurt my eyes! Unfortunately, the blanket didn't entirely eat up all of the yarn due to how I did the pattern so I've still got a few balls waiting to be used up in some other way. They'll be shoved in a drawer for who knows how long until I can stand to look at them again.
So here we have it, one item off the WIP list woohoo!
Hope everyone is well and maybe even getting a sneak preview of spring where ever you may be!
Being mostly homebound does have its benefits though, lots of stitching, hooking and general organization happening around here. If you'll notice, I've decided to publicly shame myself but publishing my ridiculous list of Works In Progress. I'm really hoping this helps motivate me to finish these items, so that I can work towards de-stashing the over grown beast that is Yarn Mountain.
So part of this process is embracing things that I kind of hate, in this case it is neon colors, which remind me of another thing I hate, the 1980's. You know, when my bangs were all poofy and my favorite color was "seafoam green". Gross, like, gag me with a spoon, for sure! I can't bring myself to give any further examples of that horrible, tacky decade, but I'm sure you get the same pictures in your head when the 80's are mentioned. Sickening, no?
Anyway, I came across some horrible bright Red Heart Super Saver in my stash, pulled out two colors and said (aloud to myself, of course), why the bleep did I buy this awful color??? I felt an urgent need to get them out of my house, and so the Totally Radical Granny was born.
I took a ton of pictures but none of them could really capture the frightening brightness of the colors! Gave this one to one of Shorty's friends, because of course the kids all think the neon and the 80's were cool because they don't remember it, seeing as they weren't even born yet.
Blah, I can hardly bear to look at the photos, the colors hurt my eyes! Unfortunately, the blanket didn't entirely eat up all of the yarn due to how I did the pattern so I've still got a few balls waiting to be used up in some other way. They'll be shoved in a drawer for who knows how long until I can stand to look at them again.
So here we have it, one item off the WIP list woohoo!
Hope everyone is well and maybe even getting a sneak preview of spring where ever you may be!
Friday, January 27, 2012
Welcome to the World Little One!
Today I'm sending out well wishes and congratulations to my bestie Ruby Murray on the birth of her gorgeous baby girl! While I'm sitting thousands of miles away just wishing I could squish that little bundle of beauty, thought I'd share some things I've made for and picture her wearing them :)
There is something so satisfying about crocheting baby clothes. They work up quick, don't require a whole lot of yarn and their tiny nature makes them instantly adorable. This is the Angel Wings Pinafore from Bev's Country Cottage. I cannot say enough good things about this website! Tons of free patterns for all things crochet and despite my out of control collection of crochet books and magazines, it is always the first place I go for baby items.
This pattern was so quick and easy to follow, and only used about a half a skein of yarn. I made a second one with the other half for another girlfriend who is expecting any day now! I decided not to seam it up like a dress and put a button on it so that it can be worn open and used for layering.
And of course I couldn't go with making her something with just one type of craft I'm currently obsessed with...I had to do a little stitchin' for her as well! Found this lovely little cardigan for a great price and couldn't wait to fancy it up!
This was my first time using interfacing to stitch on stretchy fabric, and honestly I don't know why I waited so long! The image came from the awesome book Doodle Stitching by Aimee Ray which I'm sure I've mentioned before because I love that book so much! How about a close up?
Makes me feel happy just looking at it!
Congrats again to Ruby Murray and sorry for the spoiler as the cardi hasn't been shipped yet!
There is something so satisfying about crocheting baby clothes. They work up quick, don't require a whole lot of yarn and their tiny nature makes them instantly adorable. This is the Angel Wings Pinafore from Bev's Country Cottage. I cannot say enough good things about this website! Tons of free patterns for all things crochet and despite my out of control collection of crochet books and magazines, it is always the first place I go for baby items.
This pattern was so quick and easy to follow, and only used about a half a skein of yarn. I made a second one with the other half for another girlfriend who is expecting any day now! I decided not to seam it up like a dress and put a button on it so that it can be worn open and used for layering.
And of course I couldn't go with making her something with just one type of craft I'm currently obsessed with...I had to do a little stitchin' for her as well! Found this lovely little cardigan for a great price and couldn't wait to fancy it up!
This was my first time using interfacing to stitch on stretchy fabric, and honestly I don't know why I waited so long! The image came from the awesome book Doodle Stitching by Aimee Ray which I'm sure I've mentioned before because I love that book so much! How about a close up?
Makes me feel happy just looking at it!
Congrats again to Ruby Murray and sorry for the spoiler as the cardi hasn't been shipped yet!
Tuesday, January 24, 2012
Oh My Aching Hands!
Seems I've taken a much longer break from blogging than I anticipated! Excuses abound but I won't bore you with those...despite not writing about it I have been very busy crafting. (mostly crocheting and boy do I have the cramped hands to show for it!) The rush to get gifts completed in time for Xmas really wore me out, most were completed in time but some took a little longer than I planned. This blankie for Shorty, for example. Good thing she was understanding about it and glad to receive it, even if it was a few days late.
I used a fantastic new technique I discovered, that is almost as easy as a basic granny square blanket once you get the hang of it. I first came across it while attempting the Swaddle Me blanket found on Ravelry, and after a little searching found this awesome tutorial on how to make a corner to corner afghan.
Finished blanket is about 50"x50" and I used about three skeins of each color, great for destashing but of course, typical for my projects, I did have to buy an extra skein of the white Red Heart Super Saver. I'm ok with it, since I consider that to be a staple yarn you must have on hand at all times! Still counts towards eliminating yarn mountain, right?
Can't say enough about how much I love this pattern, it creates a really dense fabric and Shorty says it is very warm. I'm working right now on a baby blanket using this technique for a friend expecting February 1st, using a bulky yarn this time and I just think its gorgeous! Here's a close up!
I've had a look around and have an extreme amount of WIP's hiding in drawers and bags...I'm not much for the New Year's Resolutions but I have decided to try to keep a list and actually finish some of these poor abandoned projects this year. Now if I could just stop starting new ones....
I used a fantastic new technique I discovered, that is almost as easy as a basic granny square blanket once you get the hang of it. I first came across it while attempting the Swaddle Me blanket found on Ravelry, and after a little searching found this awesome tutorial on how to make a corner to corner afghan.
Finished blanket is about 50"x50" and I used about three skeins of each color, great for destashing but of course, typical for my projects, I did have to buy an extra skein of the white Red Heart Super Saver. I'm ok with it, since I consider that to be a staple yarn you must have on hand at all times! Still counts towards eliminating yarn mountain, right?
Can't say enough about how much I love this pattern, it creates a really dense fabric and Shorty says it is very warm. I'm working right now on a baby blanket using this technique for a friend expecting February 1st, using a bulky yarn this time and I just think its gorgeous! Here's a close up!
I've had a look around and have an extreme amount of WIP's hiding in drawers and bags...I'm not much for the New Year's Resolutions but I have decided to try to keep a list and actually finish some of these poor abandoned projects this year. Now if I could just stop starting new ones....
Tuesday, November 29, 2011
Simple Gifts #3
Super Easy Any Way You Like It Scarf!
Here we go with my very first tutorial/pattern, but really its much more of a guideline than anything. I can't claim this pattern to be 100% mine, I'm sure there are plenty out there like it because it really only requires a few basic crochet stitches and is easily customized.
This scarf can be made with any weight or style of yarn, with any size hook you have lying around, and can be as wide and as long as you like. For this one, I used Caron Dazzleaire which is categorized as a bulky yarn but I would call it worsted weight. Its really lovely for a gift because it has a slight shimmer to it and is very soft. But I have also made it using a chunky yarn as well as holding two strands of contrasting yarn together, which gave it a nice tweed look.
Scarf as shown is 3 1/2" wide by 66" long, not including fringe
Here's what you'll need:
-Any weight yarn, at least 100 yds if you're using ww but more for bulky yarns
-Any size crochet hook (I prefer larger than K to give it a holey look)
-Yarn needle for weaving in ends
-Measuring tape (or not, I personally avoid measuring as often as possible!)
What to do:
Beg- Chain an even number of stitches to your desired width. (for example, I did ch 8 with a size N hook)
Row 1- Half double crochet (hdc) in 3rd ch from hook and in each ch across
Row 2- Chain 2, turn, hdc in each stitch across
Row 3-???- Repeat row 2 until scarf is desired length.
Fasten off, weave in ends.
So simple and so pretty! Also very nice to just sit in front of the TV and work on, since there's no counting rows or stitches!
Don't know how to do fringe? I didn't either but found some easy peasy instructions in my trusty Readers Digest Complete Guide to Needlework. (I know I've mentioned my love for this book before, but seriously if you come across it at a thrift or used book store, snatch it up!) I didn't take photos while working on the example because it was too dark, but I dug up a WIP to show you!
Fringe:
-Cut a piece of cardboard slightly longer than you would like your fringe to be, mine is 4 1/2" long
-Wrap yarn around the cardboard many times (I did this step twice due to not wanting to cut through a huge chunk of yarn at once and laziness about doing the math for how many I would need!)
-Cut the yarn across the top so you end up with a nice pile of strands
-Seperate number of strands you want each tassel to be (ex. is three strands)
-Insert hook into stitch and wrap yarn around hook in the middle of the bunch
-Draw folded end of yarn bunch through the stitch
-Wrap hook around yarn bunch, pull through the loop and tighten knot.
-Make sure you are doing this on what you would like to be the wrong side of the scarf, the knot will look like this on the back:
-The right side of your fringe will look like this:
Well, there ya have it! I hope you've enjoyed Spidermom's very first tutorial ;) Please let me know if you have any questions and I'll be right there to help! Now, go! Make an easy, stress free gift for somebody special!
Here we go with my very first tutorial/pattern, but really its much more of a guideline than anything. I can't claim this pattern to be 100% mine, I'm sure there are plenty out there like it because it really only requires a few basic crochet stitches and is easily customized.
This scarf can be made with any weight or style of yarn, with any size hook you have lying around, and can be as wide and as long as you like. For this one, I used Caron Dazzleaire which is categorized as a bulky yarn but I would call it worsted weight. Its really lovely for a gift because it has a slight shimmer to it and is very soft. But I have also made it using a chunky yarn as well as holding two strands of contrasting yarn together, which gave it a nice tweed look.
Scarf as shown is 3 1/2" wide by 66" long, not including fringe
Here's what you'll need:
-Any weight yarn, at least 100 yds if you're using ww but more for bulky yarns
-Any size crochet hook (I prefer larger than K to give it a holey look)
-Yarn needle for weaving in ends
-Measuring tape (or not, I personally avoid measuring as often as possible!)
What to do:
Beg- Chain an even number of stitches to your desired width. (for example, I did ch 8 with a size N hook)
Row 1- Half double crochet (hdc) in 3rd ch from hook and in each ch across
Row 2- Chain 2, turn, hdc in each stitch across
Row 3-???- Repeat row 2 until scarf is desired length.
Fasten off, weave in ends.
So simple and so pretty! Also very nice to just sit in front of the TV and work on, since there's no counting rows or stitches!
Don't know how to do fringe? I didn't either but found some easy peasy instructions in my trusty Readers Digest Complete Guide to Needlework. (I know I've mentioned my love for this book before, but seriously if you come across it at a thrift or used book store, snatch it up!) I didn't take photos while working on the example because it was too dark, but I dug up a WIP to show you!
Fringe:
-Cut a piece of cardboard slightly longer than you would like your fringe to be, mine is 4 1/2" long
-Wrap yarn around the cardboard many times (I did this step twice due to not wanting to cut through a huge chunk of yarn at once and laziness about doing the math for how many I would need!)
-Cut the yarn across the top so you end up with a nice pile of strands
-Seperate number of strands you want each tassel to be (ex. is three strands)
-Insert hook into stitch and wrap yarn around hook in the middle of the bunch
-Draw folded end of yarn bunch through the stitch
-Wrap hook around yarn bunch, pull through the loop and tighten knot.
-Make sure you are doing this on what you would like to be the wrong side of the scarf, the knot will look like this on the back:
-The right side of your fringe will look like this:
Well, there ya have it! I hope you've enjoyed Spidermom's very first tutorial ;) Please let me know if you have any questions and I'll be right there to help! Now, go! Make an easy, stress free gift for somebody special!
Friday, November 18, 2011
Fluffy Clouds Tunisian Wrap
It's been a little longer since I've checked in than I had intended, but I assure you it is because I have been a very busy bee working on lots of crafty projects! Today I just had to show off my very first completed project in Tunisian Crochet!
I actually finished it several weeks ago, but it was shipped all the way to Canada for a dear friend who is expecting in January. I wanted to make something that would be warm and comforting in those last few months of pregnancy (the absolute WORST in my opinion!) but also something that could be used to snuggle a newborn close or even a nursing cover up. It is made using the softest yarn I have ever touched, Sensations Angel Hair, seriously, feels like a fluffy cloud!!!
I used the Tunisian crochet book ERL bought me a couple months back as a guideline for increasing and decreasing and loosely followed a pattern for an asymmetrical shawl in the book. It is done in Tunisian Simple Stitch throughout with a size N afghan hook, which really made a nice, dense fabric and should make it very warm. I really should have measured the finished product, as I have no idea how long it is, but it can be draped in a number of ways.
Thanks for stopping by! Coming soon, more Simple Gifts and maybe even a tutorial! Stay tuned!
I actually finished it several weeks ago, but it was shipped all the way to Canada for a dear friend who is expecting in January. I wanted to make something that would be warm and comforting in those last few months of pregnancy (the absolute WORST in my opinion!) but also something that could be used to snuggle a newborn close or even a nursing cover up. It is made using the softest yarn I have ever touched, Sensations Angel Hair, seriously, feels like a fluffy cloud!!!
I used the Tunisian crochet book ERL bought me a couple months back as a guideline for increasing and decreasing and loosely followed a pattern for an asymmetrical shawl in the book. It is done in Tunisian Simple Stitch throughout with a size N afghan hook, which really made a nice, dense fabric and should make it very warm. I really should have measured the finished product, as I have no idea how long it is, but it can be draped in a number of ways.
Thanks for stopping by! Coming soon, more Simple Gifts and maybe even a tutorial! Stay tuned!
Thursday, June 16, 2011
Yarn Mountain
About a week ago, I came home happily clutching my bag full of yarn from my last trip to... wherever it was, there was a deal I just couldn't pass it up....I realized that I actually had no where put it. Yarn Mountain appeared to be above capacity! What a mess! I did not take a before picture, it was just too scary to commemorate with a photograph. I did spend around and hour and a half cutting off WIP's, balling yarn and generally organizing. Yarn Mountain is now all neat-ish and not quite embarrassing (aside from the messy bookshelf beside it!)
When I took the photo I realized I may have a problem. Especially when there was still another pic to be taken:
For honesty's sake, I'll admit that there are still a few bags/cubbies that have yarn stashed in them, but I won't bore you with those. My yarn stash is ridiculous, and I have been inspired.
Took a walk through the city with the family and found a construction site that had crochet flowers lining the surrounding fence. Yay! Yarn Bombing! Love it.
I made a mini pledge to myself that I will spend the summer getting better at crocheting. I want to feel confident that I can do a difficult pattern, and be able to "whip things up" without stress. Further inspiration came when I read this article over on Crochet Spot. Perfect! I love the idea of making small projects throughout the summer and storing them up, I have a lot of extended family out of state and I would love to be able to send Xmas gifts to them. So, I have been crocheting like crazy!
Two top secret small projects off on an adventure, elusive too, they haven't even been photographed! I got the new Ana Paula Rimoli book Amigurumi Toy Box and have completed two projects from it, my favorite, for my little buddy way up North, who has named him Mr. Fock:
He's wonky, but I love him.
And a teeny cake for Shorty's BFF's birthday:
Sunday I sat on my mom's patio with a big skein of sorta ugly cotton yarn and made her a pair of slippers.
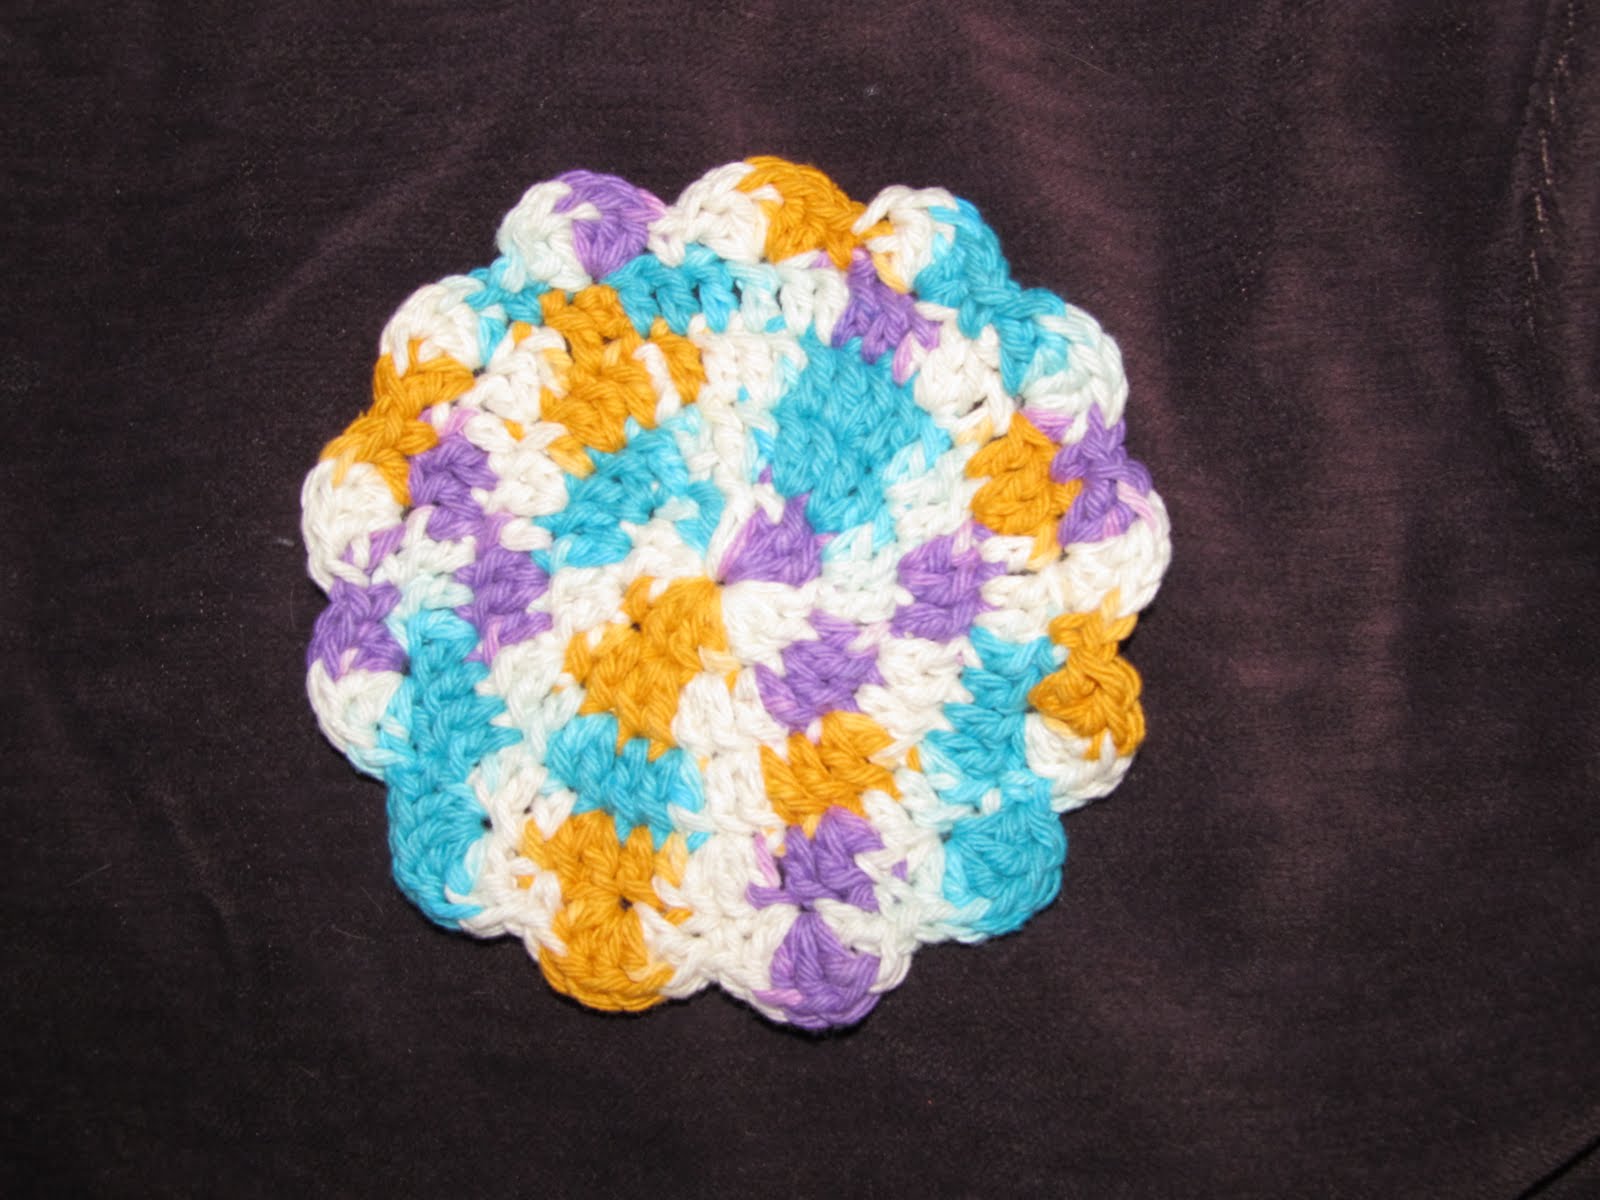
Came home and made a coaster for my desk, with same sorta ugly yarn. Seems not as ugly on the coaster, don't you think? Or maybe I'm just getting used to it and getting attached....
I'm going to work my way through Yarn Mountain and make something, even if its a coaster, every single day. By the time I make that pile of yarn smaller I hope to be able to feel justified in buying that higher end yarn, for now, I've got a lot of cotton and acrylic to work with. I see a lot of Amigurumi and potholders in my future....
When I took the photo I realized I may have a problem. Especially when there was still another pic to be taken:
For honesty's sake, I'll admit that there are still a few bags/cubbies that have yarn stashed in them, but I won't bore you with those. My yarn stash is ridiculous, and I have been inspired.
Took a walk through the city with the family and found a construction site that had crochet flowers lining the surrounding fence. Yay! Yarn Bombing! Love it.
I made a mini pledge to myself that I will spend the summer getting better at crocheting. I want to feel confident that I can do a difficult pattern, and be able to "whip things up" without stress. Further inspiration came when I read this article over on Crochet Spot. Perfect! I love the idea of making small projects throughout the summer and storing them up, I have a lot of extended family out of state and I would love to be able to send Xmas gifts to them. So, I have been crocheting like crazy!
Two top secret small projects off on an adventure, elusive too, they haven't even been photographed! I got the new Ana Paula Rimoli book Amigurumi Toy Box and have completed two projects from it, my favorite, for my little buddy way up North, who has named him Mr. Fock:
He's wonky, but I love him.
And a teeny cake for Shorty's BFF's birthday:
Sunday I sat on my mom's patio with a big skein of sorta ugly cotton yarn and made her a pair of slippers.
Came home and made a coaster for my desk, with same sorta ugly yarn. Seems not as ugly on the coaster, don't you think? Or maybe I'm just getting used to it and getting attached....
I'm going to work my way through Yarn Mountain and make something, even if its a coaster, every single day. By the time I make that pile of yarn smaller I hope to be able to feel justified in buying that higher end yarn, for now, I've got a lot of cotton and acrylic to work with. I see a lot of Amigurumi and potholders in my future....
Tuesday, May 24, 2011
I'm Baaaack!
Spring is a hectic time in Mommyville. Band concerts, field days, and picnics abound! I have a mixed feeling of dread and relief when it comes to the summertime approaching, love the lazy days but hard to keep the wee little monsters occupied for two and a half months! Amid all the chaotic days I have been crafting like crazy but too busy to share. So here we go, catching up on all you've missed while I've been in hiding.
I intend for this lovely lady to have the whole weeks worth of international tea towels by the end of summer :)
Among the list of things I wanted to make was this lovely little bookmark, the great, easy to follow tutorial found on How About Orange. This was a quick, fun project and I intend to make lots more.
Of course I couldn't send a package without making a little something out of yarn. This headband was a pattern from Ravelry that I altered a bit to accommodate the fine yarn, and I dumped a huge jar of vintage buttons to find the lovely one I used in the center of the flower. Bonita wears it well, but I'm willing to bet the recipient looks even cuter in it!
All in all, I hope she had a fantastic birthday! Many more projects to share, check back soon!
P.S. If you aren't reading Ruby Murrays Musings you are really missing out!
Thursday, March 31, 2011
Busy Busy But Nothing to Show For It!
The monsters are on Spring Break. For mommies like me, that means a steady stream of playing referee and entertainment director, and slave driver, since I am on a (mini) mission to get some spring cleaning done. Ha! One day of trying to motivate them to help and I caved... so much for that grand plan!
Spent a lot of time making stuff this week, stuff I love, stuff I'm proud of and would definitely love to share. However, this stuff will soon be on its way to Canada to greet my homegirl for her birthday, so it will have to be shared later!
In the meantime, I made a tiny bit of progress on my giant granny square blanket. I still haven't decided exactly how "giant" it will be; as it is now it is still too small for a good two-person snuggle couch blankie so I've still got some work to do. I'm loving the colors together...reminds me of a Monet.
Happy Thursday!
Spent a lot of time making stuff this week, stuff I love, stuff I'm proud of and would definitely love to share. However, this stuff will soon be on its way to Canada to greet my homegirl for her birthday, so it will have to be shared later!
In the meantime, I made a tiny bit of progress on my giant granny square blanket. I still haven't decided exactly how "giant" it will be; as it is now it is still too small for a good two-person snuggle couch blankie so I've still got some work to do. I'm loving the colors together...reminds me of a Monet.
Happy Thursday!
Tuesday, March 15, 2011
A Teen and A Toddler
Whew! Finally sitting down after a chaotic start to March! Babygirl was born 10 years and 1 day after Shorty so we have our own little version of March Madness going on around here the first part of March. The fortunate thing about the craziness of celebrating two birthdays is that it has disallowed me the agony of coping with the fact that Shorty is now officially a teenager! Lucky for me, she’s a great kid so thus far I am not concerned about “teenage drama”, but boy, it is amazing how quickly the time has passed!
ERL used his Cake Boss skills and made this fabulous cake for the fairy obsessed Babygirl!
I have had plenty of crafty failures and successes for birthday gifts. First, I attempted an ambitious (for me, anyway) project of making Babygirl a sweater from this pattern here, which I have had in my Lion Brand favorites for forever but have been too chicken to attempt. This is the first time I’ve made any real apparel, and it was much easier that I thought it would be! The flowers are of my own design after several failed attempts at motifs found around the Web.
Now if I could just get her to wear it….
Shorty decided she wanted an afghan, and since A. I have never made an afghan before and B. she knows how bad I am at finishing big projects, she was very sweet and understanding in accepting that there was no way it would be completed in time for her actual birthday. So I spent a fair amount of time on Ravelry trying to find the perfect pattern, and she and I decided on this one, which is just lovely and 12” squares seemed much more manageable to me than 6”. However, it appears that this pattern may be more above my skill level than I’m willing to manage. Or it requires much more attention to detail than I can manage. Either way, with three kids running around it’s pretty hard to get quiet time before I’m deliriously tired. I’ve completed three squares. The first I knew right away was wrong, and is not pictured because Babygirl has snatched it up for her baby doll’s blankie.
One of these things is definitely not like the other.
I say “uncle!” and Shorty has confessed that she prefers the look of a giant granny square blanket (relief!) I’ve decided to use the rest of the yarn I had picked for this to make myself a giant granny square blankie for the couch, and will let her pick her yarn for her very self.
I’ve got a couple of other WIP’s going on right now, and will (hopefully) be sharing soon!
Wednesday, February 2, 2011
Granny Craft #2--The Lid Lifter
So here in beautiful Colorado, we have had three consecutive days of sub-zero temperatures. Translation: Spidermom trapped in the house for three days with three kids!!! Good thing I have a huge yarn stash and a bounty of patterns!
Today's pattern comes to us courtesy of the premier issue of Weekend Crochet magazine, circa 1991:
And the ever important and completely useful Handle Holder:
Ah, the lovely things I never knew I needed!
Here's the part where I confess that I absolutely hate cooking and will likely never actually use them myself. I'm hoping that my loving ERL will put his manly-ness aside and use them at least once to appease me.
Today's pattern comes to us courtesy of the premier issue of Weekend Crochet magazine, circa 1991:
Ok can we just pause for a moment to say, "Seriously?!?! 1991?!?!" To me, everything about this picture screams 1970's kitchen, but maybe its just me. That said, on to the details!
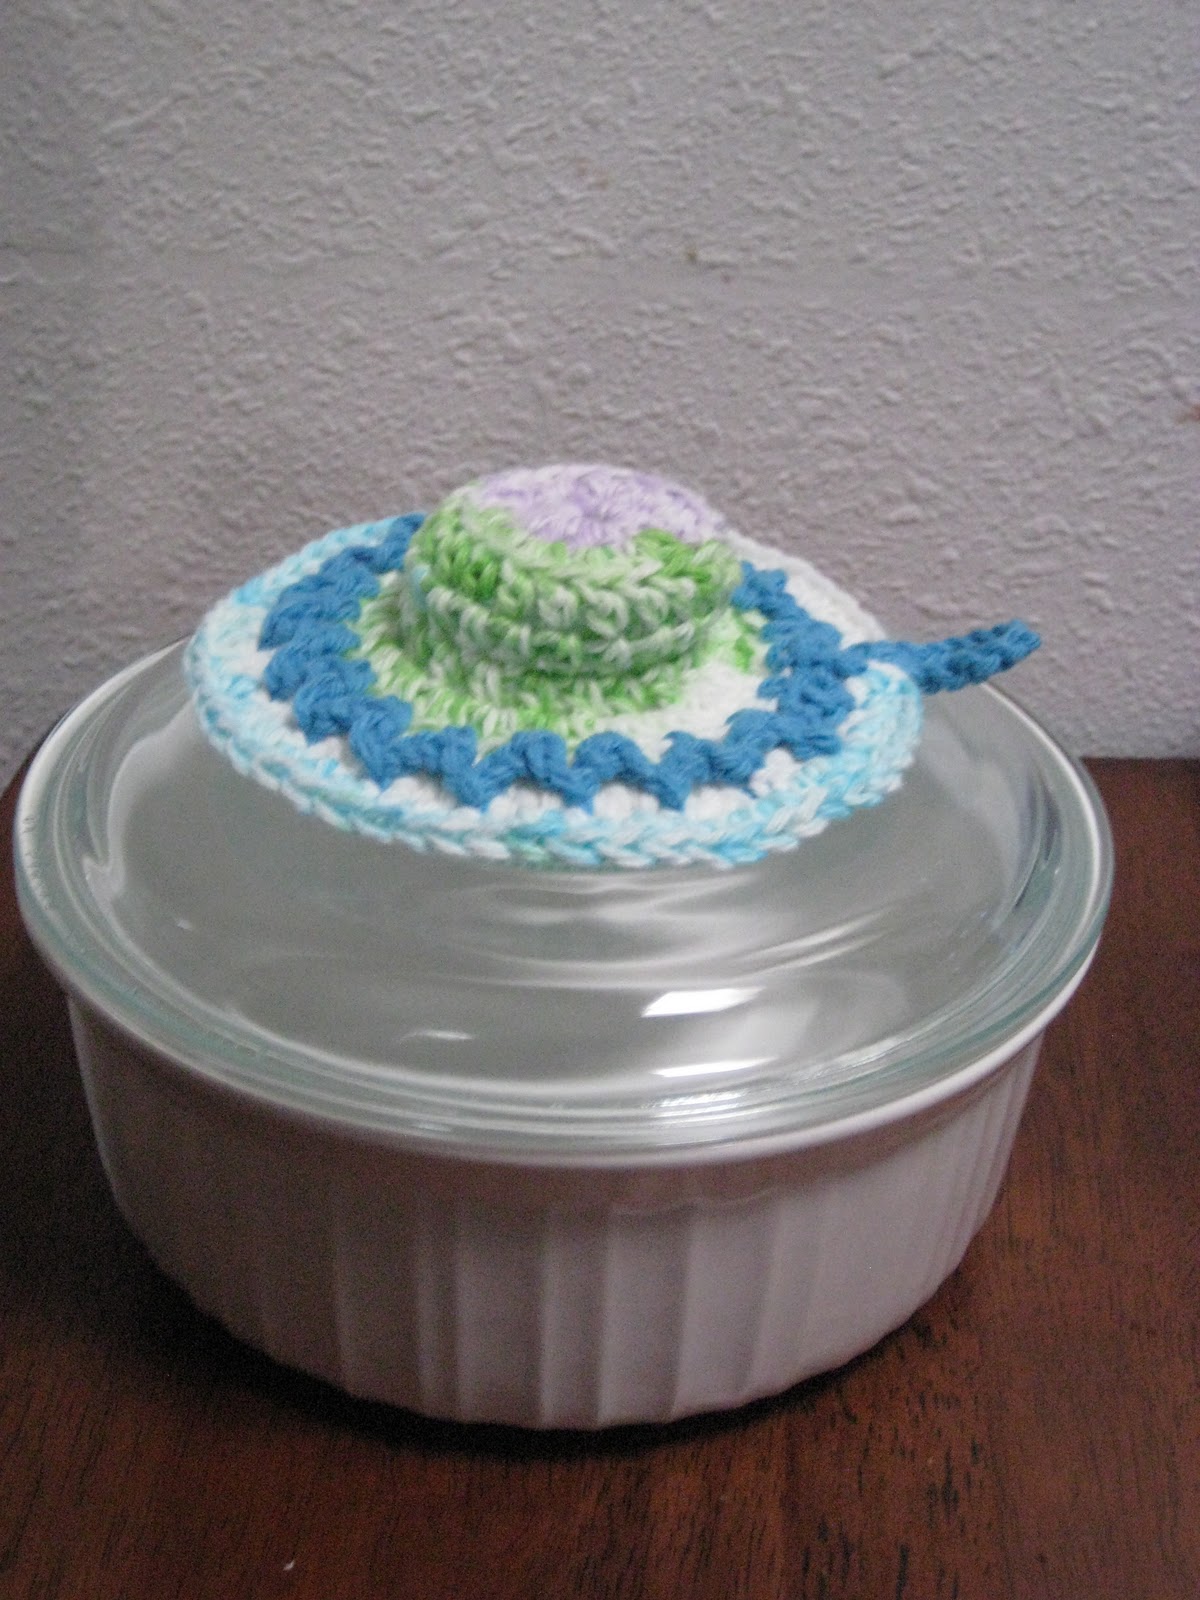
I thought the idea of the lid lifter for the Corningware pot was too adorable, and since this year Santa stuffed some fun Lily Sugar and Cream cotton into my stocking, (and by "Santa" I mean my one of a kind fantastic awesomely sweet mommy...yes I am 32 and my momma still makes me a stocking every year--jealous?) I set to work on my very own Lid Lifter.
I fell in love! Little bit of a challenge with the squiggly bit around the edge, but it gives it a certain wow factor combined with the striped yarn, no?
Once I had this in my hands it just begged for matching friends, and I spent the next four or so hours (give or take!) making a set.
Fancy Potholder:
Ah, the lovely things I never knew I needed!
Here's the part where I confess that I absolutely hate cooking and will likely never actually use them myself. I'm hoping that my loving ERL will put his manly-ness aside and use them at least once to appease me.
Monday, January 31, 2011
Granny Craft #1--Handy Notepad Holder
What kitchen is complete without one of these handy dandy notepad holders???? This is the original pattern courtesy of Annie's Pattern Club, copyright 1983:
I had initially tried to stay true to the pattern, and do the adorable little strawberries and flower...but my craft ADD kicked in big time and I felt rushed to finish it so that it wouldn't be added to my ever increasing WIP pile! (Only made worse by the huge influx of fabulous patterns and books!!!) This is my modern take on the little memo pad holder:
At first I thought it was really awful, but now that I've given it a flower with a vintage button center, I'm quite liking it and considering making another or two in more modern/prettier colors.
Well, what do you you guys think???
I had initially tried to stay true to the pattern, and do the adorable little strawberries and flower...but my craft ADD kicked in big time and I felt rushed to finish it so that it wouldn't be added to my ever increasing WIP pile! (Only made worse by the huge influx of fabulous patterns and books!!!) This is my modern take on the little memo pad holder:
At first I thought it was really awful, but now that I've given it a flower with a vintage button center, I'm quite liking it and considering making another or two in more modern/prettier colors.
Well, what do you you guys think???
Sunday, January 16, 2011
Tink
My youngest, Babygirl, is thoroughly obsessed with Tinkerbell. I have no idea how many times she has watched "Tinkerbell and the Lost Treasure"...she quotes it, sings the songs, and "turns red" when she gets mad just like Tink. Fantastic to watch her hold her breath and puff out her cheeks, arms crossed, checking herself in the mirror to see if her face is turning red yet! Needless to say, it was a very very Tinkerbell Christmas at our house, and I was determined to make her something to do with Tinkerbell. After an attempt at an amigurumi version of the Fiesty Fairy that I wasn't happy with, I decided to go another direction.
I remembered how difficult it is to find dress up shoes that will fit a 2 1/2 year old and realized Babygirl needed slippers. I found this great, easy to follow pattern through Ravelry http://goodknits.com/blog/toddler-slippers/ , only made a few changes on the last couple of rounds and added sparkly pom-poms and voila! Tinkerbell slippers.
Today was the first day I was able to get her to try them on, because she is bugged by things that are "too big", which in her world usually just means she doesn't like them! Its ok, they are a little loose, and maybe by the time her tiny feet have grown a bit she'll decide she likes them.
I remembered how difficult it is to find dress up shoes that will fit a 2 1/2 year old and realized Babygirl needed slippers. I found this great, easy to follow pattern through Ravelry http://goodknits.com/blog/toddler-slippers/ , only made a few changes on the last couple of rounds and added sparkly pom-poms and voila! Tinkerbell slippers.
Today was the first day I was able to get her to try them on, because she is bugged by things that are "too big", which in her world usually just means she doesn't like them! Its ok, they are a little loose, and maybe by the time her tiny feet have grown a bit she'll decide she likes them.
Thursday, January 13, 2011
An Accidental Cowl
A little background: I seem to be on a never-ending quest for a great lacy scarf pattern. I've tried all different weights of yarn, different sized hooks, even tried to create my own pattern for a change. I have lost count of how many I have given up on or frogged in frustration because they were too wide, too skinny, too lacy.
The other night I came across an irresistible sale on Lion Brand Thick and Quick and decided to give it another go. I decided that this go-around I would go straight to the source for the perfect lacy scarf pattern and headed over to the Lion Brand Yarn website. This one seemed to be the one, http://www.lionbrand.com/patterns/L0435F.html, even called for the super bulky yarn I had just purchased! Set to work with enthusiasm and then about two rows in realized that this scarf was going to be way too wide, but decided to proceed, thinking maybe someone else will think its wonderful. A couple more rows and I decided no one I know would wear a scarf this huge and decided to keep going until I ran out of yarn and sew it up the back. I am SO happy with the results!
I've been wearing it constantly since I finished it and think I will need to make more in different colors!
The other night I came across an irresistible sale on Lion Brand Thick and Quick and decided to give it another go. I decided that this go-around I would go straight to the source for the perfect lacy scarf pattern and headed over to the Lion Brand Yarn website. This one seemed to be the one, http://www.lionbrand.com/patterns/L0435F.html, even called for the super bulky yarn I had just purchased! Set to work with enthusiasm and then about two rows in realized that this scarf was going to be way too wide, but decided to proceed, thinking maybe someone else will think its wonderful. A couple more rows and I decided no one I know would wear a scarf this huge and decided to keep going until I ran out of yarn and sew it up the back. I am SO happy with the results!
I've been wearing it constantly since I finished it and think I will need to make more in different colors!
Subscribe to:
Posts (Atom)